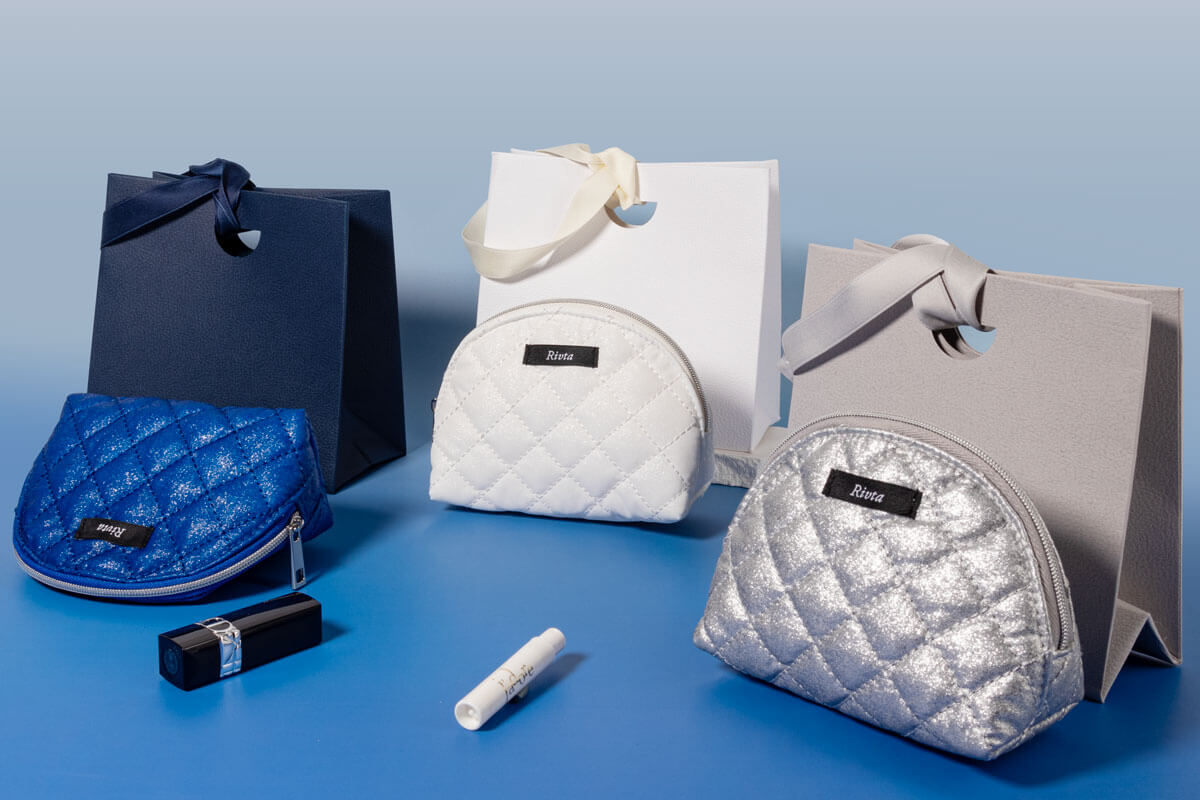
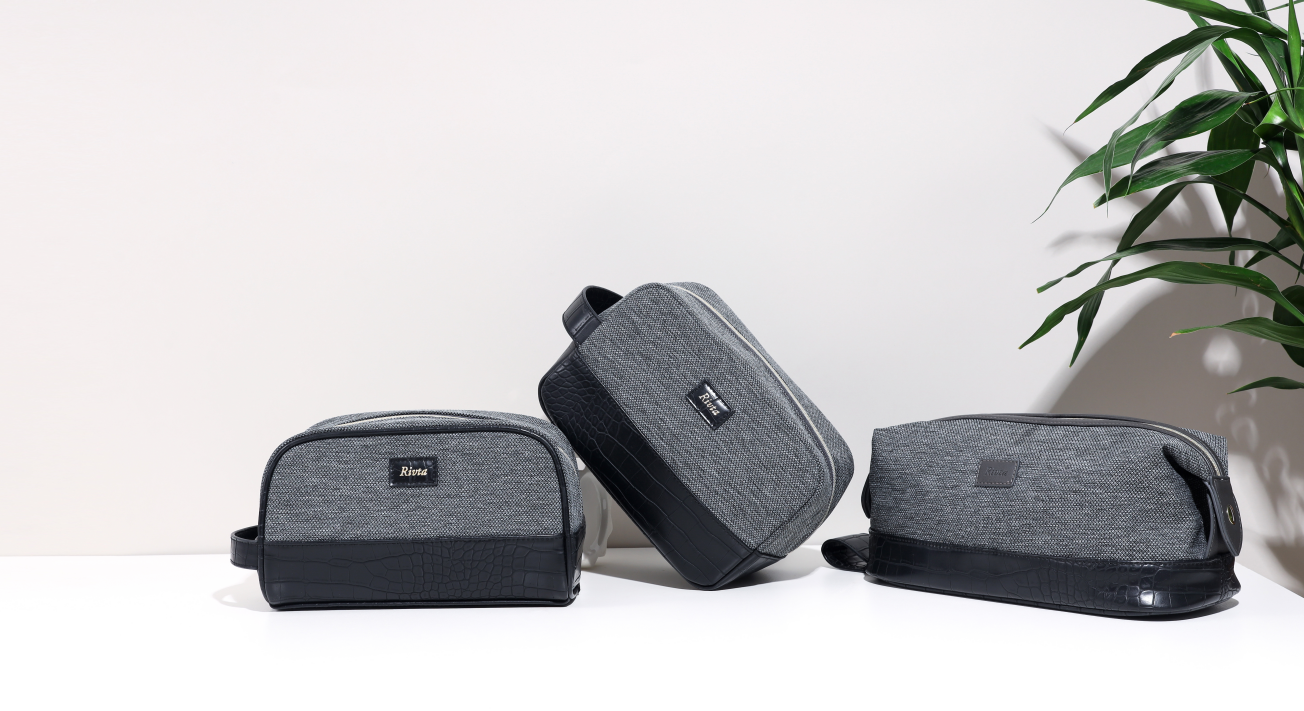
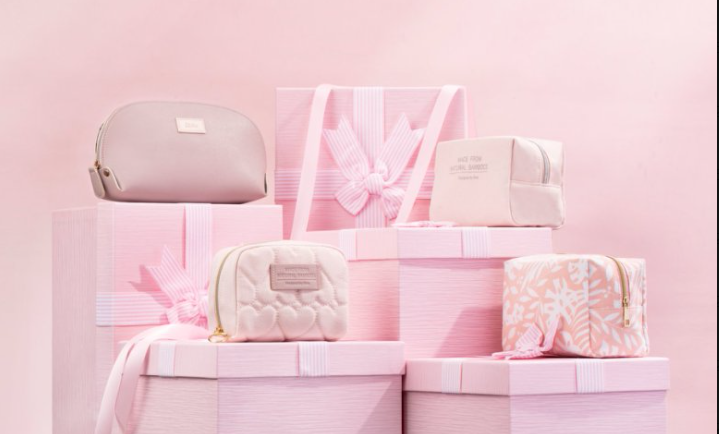
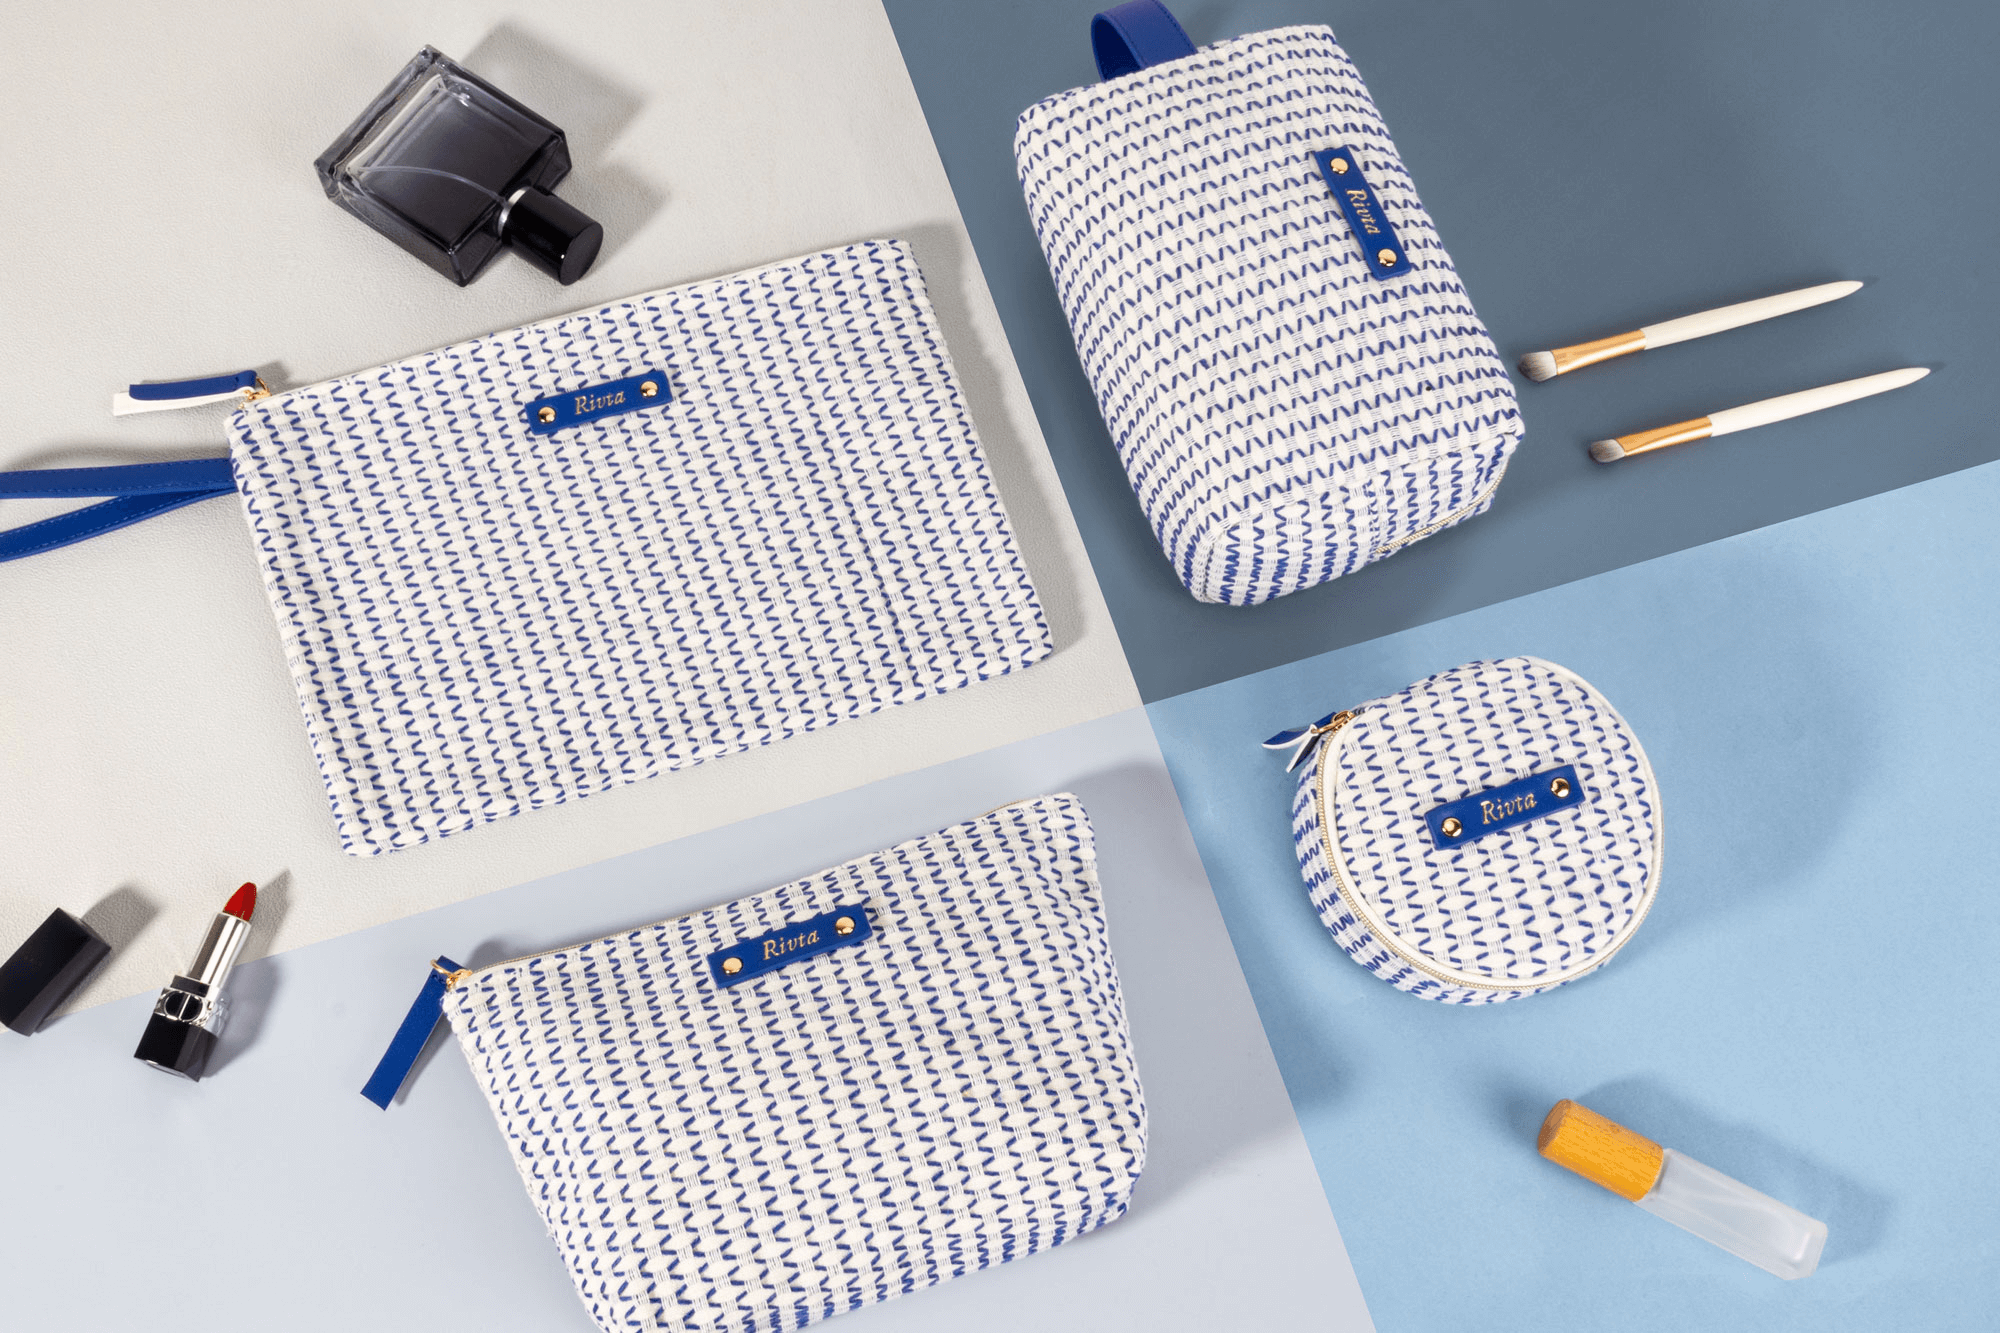
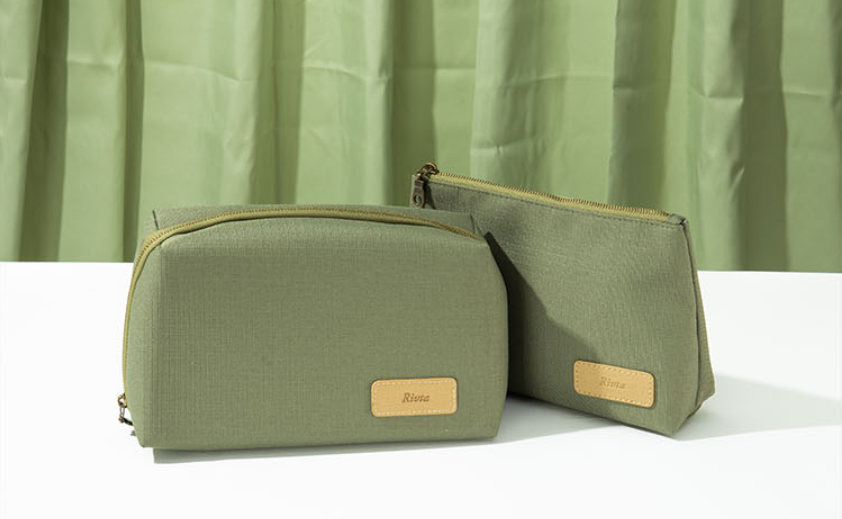
How do you build the perfect partnership with a makeup bag manufacturer?
Finding a manufacturer is easy; finding a true partner is hard. The wrong choice can lead to delays, poor quality, and wasted budget, which ultimately hurts your brand's reputation.
To build a perfect partnership, provide a detailed design brief. Select a manufacturer that aligns with your brand's values, especially on quality and sustainability. Then, maintain clear communication through the prototyping, sampling, and final production stages.
I have always believed that the best products are born from co-creation. It is not just about a brand placing an order and a factory fulfilling it. It is a collaborative dance between a client's vision and a manufacturer's expertise. As a designer with over five years of experience in luxury projects, I have seen how a strong partnership can elevate a simple idea into a product that truly connects with customers. My mission is to help brands like yours navigate this process, turning ideas into items that are practical, beautiful, and market-ready. Let's explore the key steps to building that successful partnership.
What are the key design elements you can't ignore?
A great bag idea can fail with the wrong materials or poor placement. Your design looks amazing on screen, but will it feel premium and function well in your customer's hands?
Focus on three key elements. First, choose a material that reflects your brand's price point and values. Second, design a functional interior. Third, place your logo for maximum impact without overwhelming the design.
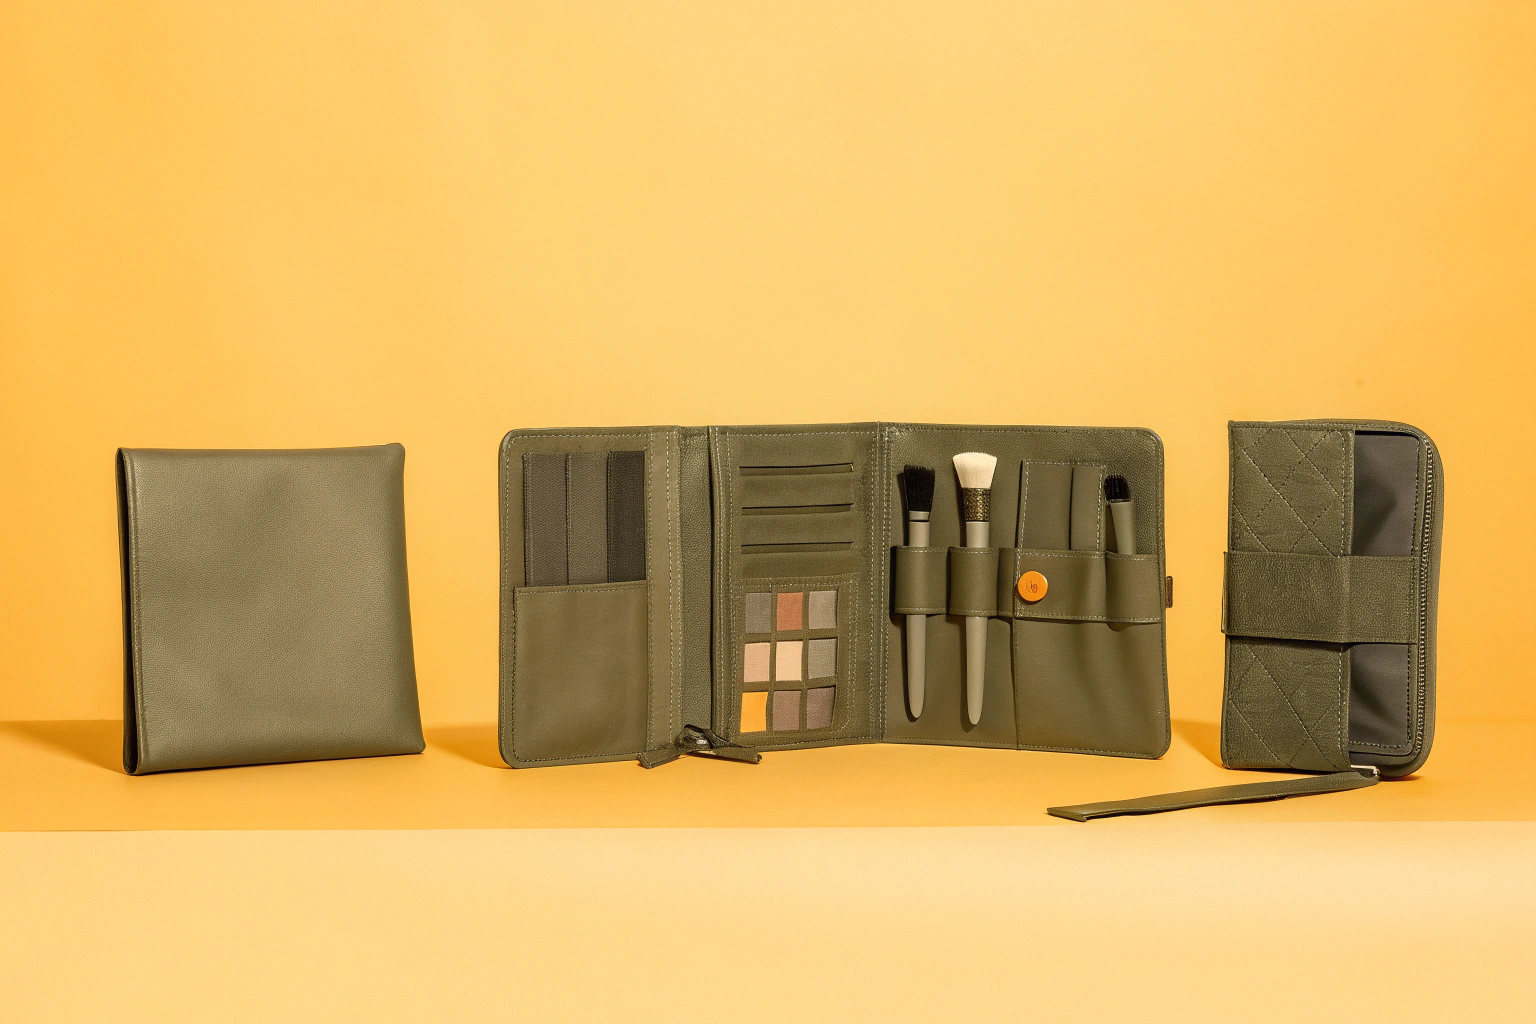
I once worked with a designer, Jennie, on a project for a high-end, sustainable skincare brand. She had a beautiful, minimalist aesthetic. The key was to choose elements that felt luxurious but also honored the brand's commitment to the environment. We decided on a soft, supple cactus leather for the exterior and a lining made from recycled plastic bottles (rPET). For the logo, instead of a large print, we chose a subtle, debossed emblem on a small corner tag. Every element was carefully chosen to work together. The final product was a huge success because it perfectly communicated the brand's identity through these small, intentional details.
Choosing Your Core Material
The material is the foundation of your design. It sets the tone for quality, durability, and brand values. For a designer like Jennie, who bridges luxury with sustainability, material selection is critical.
| Material | Best For | Texture & Feel |
|---|---|---|
| rPET (Recycled Poly) | Eco-conscious brands, gifts with purchase. | Durable, versatile, can be soft or canvas-like. |
| Organic Cotton | Natural and minimalist brands. | Soft, breathable, earthy, and casual. |
| PU Vegan Leather | Brands seeking a consistent, luxe look. | Smooth, sleek, and cruelty-free. |
| Cactus Leather | Premium luxury brands focused on innovation. | Exceptionally soft, high-end, sustainable. |
Designing the Interior Experience
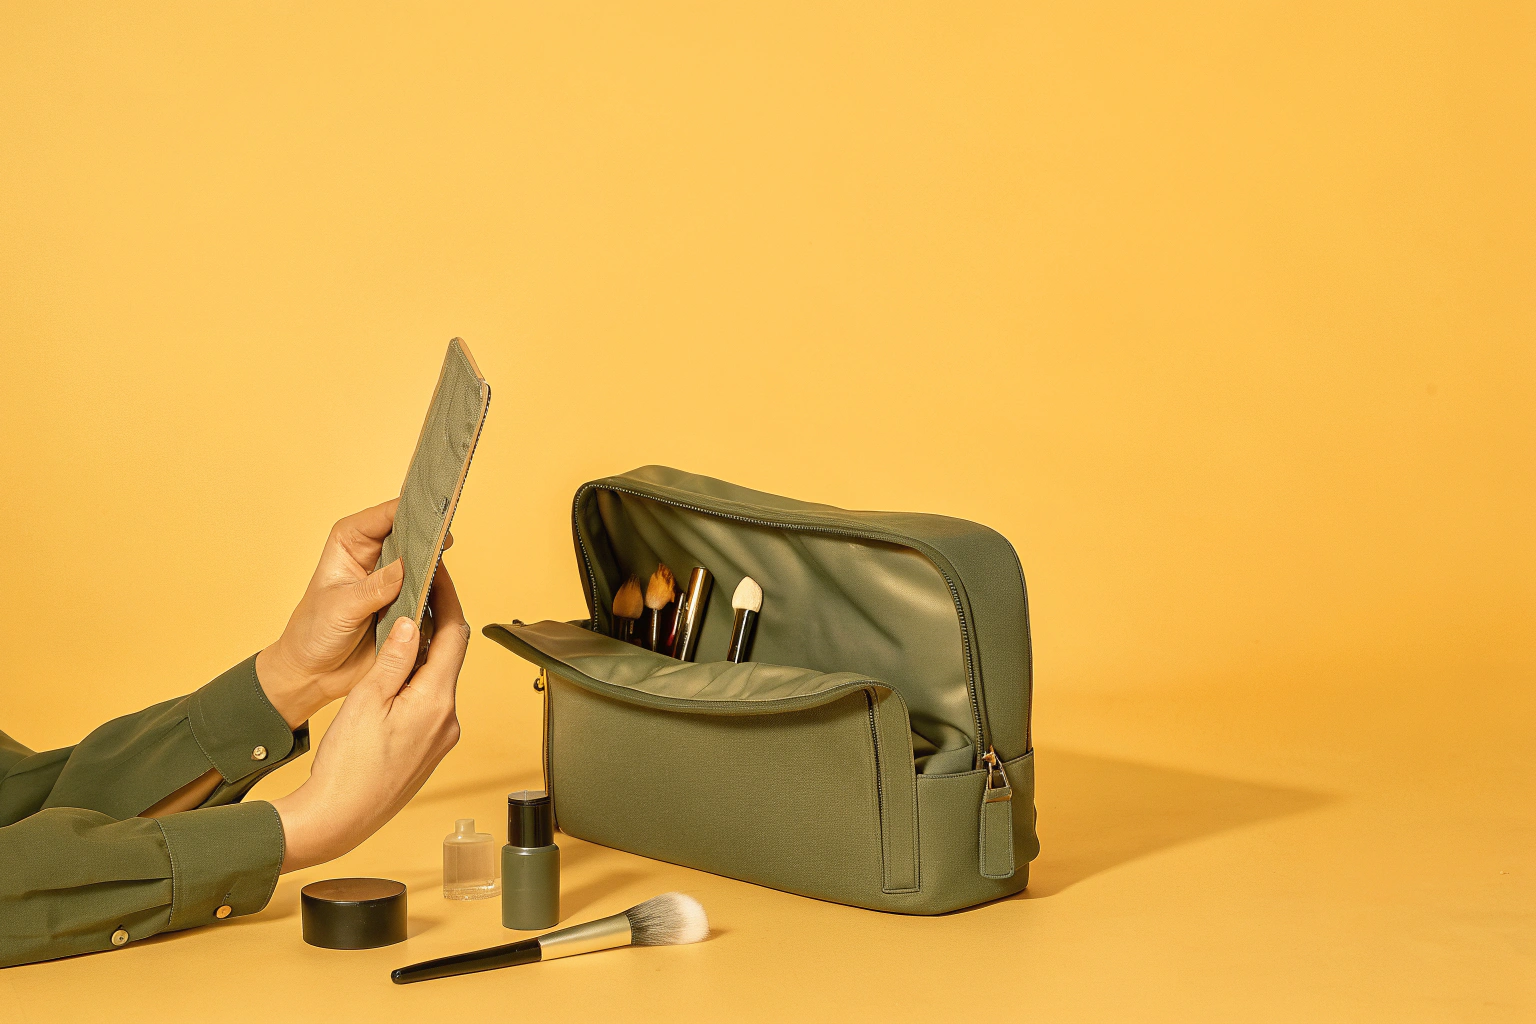
A makeup bag's real value lies in its usability. A beautiful exterior is great, but a thoughtfully designed interior is what makes a customer love and use the bag every day. Think about what your customer carries. Do they need loops for brushes? A zippered pocket for small items like rings or medication? A wipeable lining is also essential for easy cleaning, which extends the life of the product and keeps it looking fresh.
Strategic Logo Placement
Your logo is your brand's signature. Its placement should be deliberate. A large, centered logo can be powerful for a bold, modern brand. For a luxury brand, a more subtle approach often works better. This could be a small embroidered logo, a custom metal zipper pull, or a blind debossed stamp. The goal is for the logo to feel integrated into the design, not just stuck on top of it.
How do you choose the right printing technique for a high-quality finish?
Your logo is your brand's signature. A cheap or poorly chosen printing method can make your entire product look low-quality, undoing all your hard work on the design.
The right technique depends on your logo's complexity, the material, and your desired aesthetic. For simple logos, screen printing is great. For a luxury feel, consider debossing. For multi-color designs, digital printing is best.
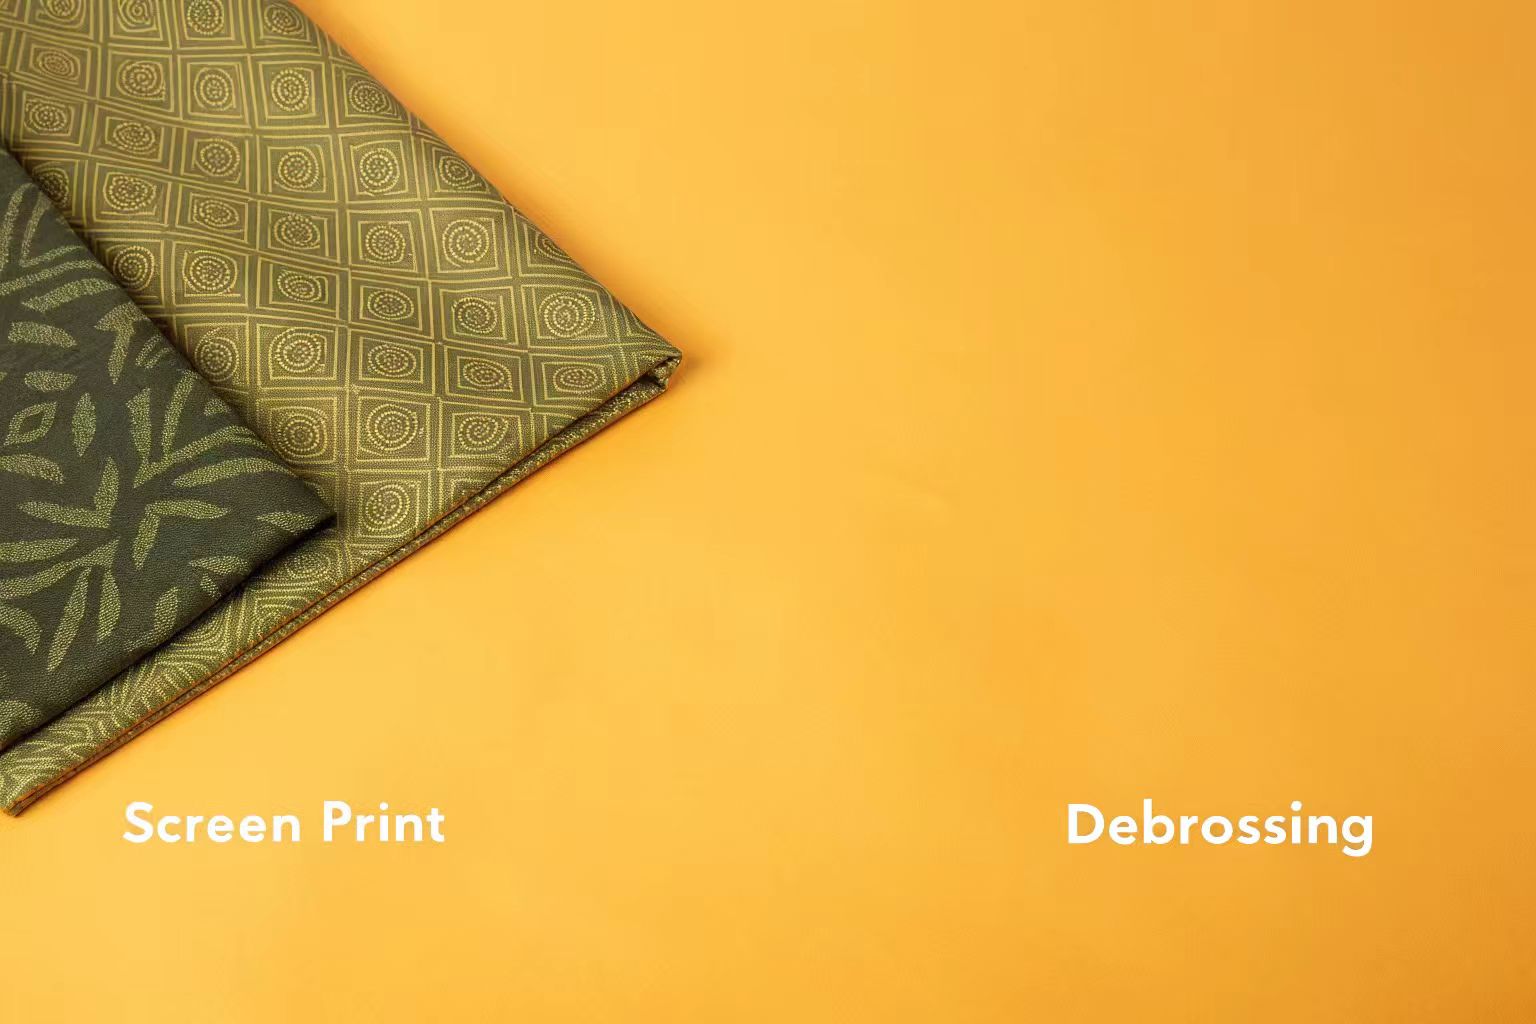
Choosing the right printing application is a crucial part of the co-creation process. I remember a retailer who wanted to create a gift-with-purchase bag. Their logo was intricate with several colors. Initially, they considered embroidery, but the small text would have been unreadable. We worked together and decided on a high-resolution digital print. This technique captured every detail of their colorful logo perfectly. The result was a vibrant, high-quality bag that customers loved. The right technique ensures your brand is represented exactly as you intend.
Comparing Common Printing Methods
Each method offers a different look, feel, and price point. Understanding the options helps you make an informed decision that aligns with your brand identity.
| Technique | Best For | Look & Feel |
|---|---|---|
| Screen Printing | Bold, one or two-color graphics. | Clean, flat, and vibrant. A classic choice. |
| Digital Print | Multi-color logos, photos, or gradients. | Sharp, detailed, and full-color. |
| Embroidery | Simple logos and text for a premium feel. | Textured, traditional, and durable. |
| Debossing/Embossing | Subtle branding on leather or PU. | Elegant, understated, and tactile. |
Consider the Material
The printing method and the material must work together. Screen printing is excellent on cotton or rPET canvas. Debossing is perfect for PU or real leather but impossible on a thin nylon. A good manufacturing partner will guide you on the best combination for your specific design. They should be able to provide samples of different techniques on your chosen material so you can see and feel the result before committing to production. This collaborative testing is key to achieving a high-quality finish.
What are the essential steps in the prototyping and sampling process?
You have sent your design, but you are nervous. Will the factory get it right? Miscommunication during this early stage can cause major delays and endless frustration down the line.
The process has three key stages. First, create a detailed tech pack. Second, review a digital mockup for placement. Third, and most importantly, approve a physical pre-production sample before any mass production begins.
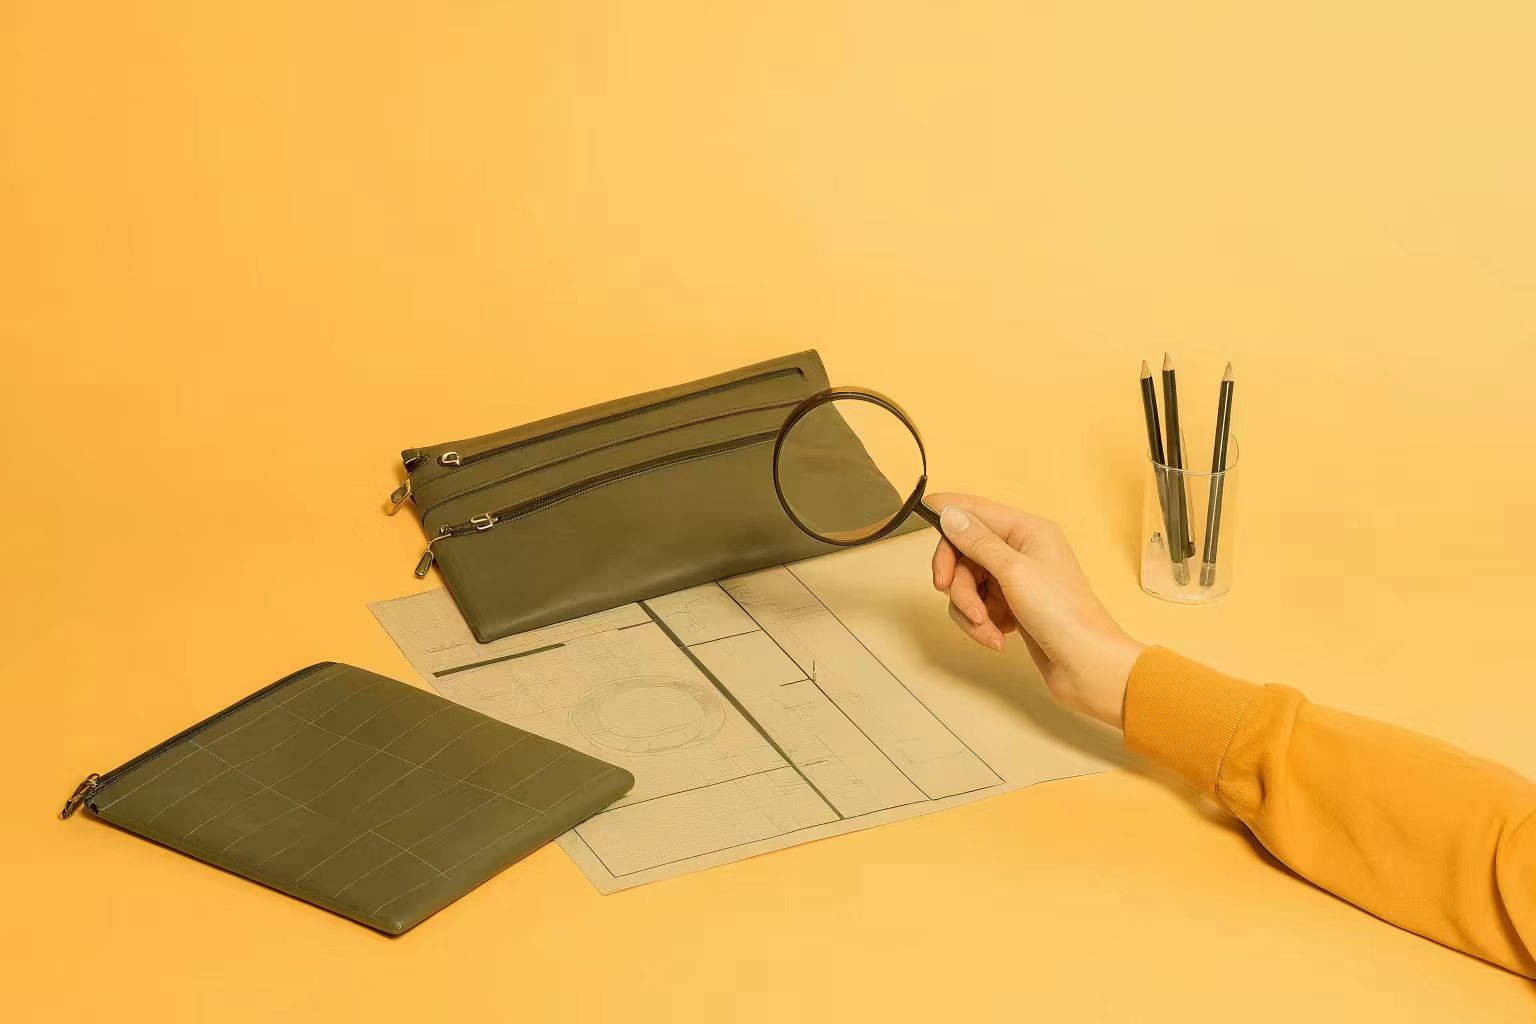
The sampling phase is where the design truly comes to life. It is my favorite part of the process because it is where the co-creation is most active. I truly believe that you cannot judge a product from a photo. You need to hold it. I once had a client who was sure about a specific zipper from a picture. But when she received the physical sample, she realized it was too heavy for the delicate fabric of the bag. We quickly collaborated to find a lighter option that worked perfectly. That physical sample saved us from producing thousands of bags with a fatal design flaw. It is a step you can never, ever skip.
Step 1: The Tech Pack is Your Blueprint
A tech pack, or technical package, is the complete instruction manual for your bag. It is the single most important document you will create. It eliminates guesswork and ensures everyone, from the sample maker to the production manager, is on the same page. Your tech pack must include detailed sketches with dimensions, material specifications, Pantone (PMS) color codes, hardware details, and precise logo placement information.
Step 2: From Digital to Physical
After receiving your tech pack, your manufacturing partner will likely create a digital mockup. This is a quick way to confirm that they have understood the basic layout and logo placement. Once that looks good, they will create the first physical prototype, often called a pre-production sample (PPS). This is your golden sample. It is your one chance to test everything.
Step 3: Giving Effective and Clear Feedback
When you receive your physical sample, review it carefully. Test the zippers. See if your products fit inside. Check the colors against your Pantone swatches. When giving feedback, be specific and actionable.
- Bad Feedback: "The zipper pull feels cheap."
- Good Feedback: "The zipper pull needs to be 2mm thicker and have a matte nickel finish instead of shiny silver."
This clear communication is the heart of a successful partnership and ensures the final product is exactly what you envisioned.
What are the common pitfalls to avoid when finalizing your design?
You are so close to the finish line, but small mistakes can lead to huge problems. Overlooking a tiny detail now could mean receiving 10,000 units with a critical flaw.
Avoid these pitfalls. Do not finalize without testing the bag's functionality with actual products. Do not forget to specify packaging needs. Finally, never assume a detail is "obvious"—put everything in writing.
I have learned over the years that assumptions are the enemy of good production. A detail that seems obvious to a designer in New York might not be obvious to a production manager overseas. This is why I stress that every single detail must be documented. I remember a project where the tech pack showed a custom zipper pull, but it did not specify which way it should face when closed. The bags arrived with half the pulls facing up and half facing down. It was a minor detail, but it created an inconsistent customer experience. Now, I make sure every tech pack includes a note on every detail, no matter how small.
Pitfall 1: Forgetting User Experience (UX)
It is easy to focus on how the bag looks and forget how it works. Before you approve the final sample, actually use it.
- Functionality Test: Put your makeup or skincare products inside. Does everything fit? Is it easy to find what you need?
- Durability Test: Open and close the zipper 50 times. Does it stick or break? Pull on the seams. Do they feel secure?
- Ergonomics Test: How does the bag feel in your hand? Is it easy to carry?
Pitfall 2: Overlooking Packaging and Shipping
Your beautiful bags need to arrive in perfect condition. A crushed or dirty product is unsellable.
- Individual Packaging: Specify if each bag needs its own polybag to protect it from dirt and scuffs.
- Carton Specifications: Define the master carton size and quality. A double-walled cardboard box provides much more protection during international shipping.
- Labeling: Provide clear instructions for carton markings, including your item number, quantity, and brand name.
Pitfall 3: The "It's Obvious" Mistake
Never assume your factory partner knows what you are thinking. If you want white stitching, specify the exact thread and color code. If you want the lining to be sewn a certain way, include a diagram. Documenting everything in your tech pack protects both you and your manufacturer, leading to a smooth production run and a product you can be proud of.
Conclusion
A successful manufacturing partnership is a co-creation. By emphasizing clear communication, detailed planning, and thorough sampling, you can turn your vision into a product your customers will truly love.
